 ——–
——–


I also made a really neat garland for my front window...I'll share that tomorrow with details on the ornaments. Thanks for stopping by & have a great rest of your day!!




 I didn't have any new projects to share with you, but I went through old posts and can't find where I've ever shared these pieces with you...so I thought today would be a good day. The top picture is in Biker Boy's office & the frame is wood sprayed with Krylon's hammered copper paint. I like how it compliments the dark green floss that I used & the natural muslin. The bottom one hangs just outside the bathroom door.
  Yes then center circle of this one is made ENTIRELY of French Knots!
  And this is Colin. Again, I stitched them after her little darling Wheaton Scotties. The stitches for this one: straight, lazy daisy, satin, & buttonhole.
 These patterns can be found as freebies if you do an online search (I checked), but I was lucky enough to have them already in my private stash. {grin} It just took some VERY careful handling to not destroy the delicate papers. Someday I'll show you my filing cabinet that houses nothing but embroidery patterns here in my she-cave. Now, I get to stare at THIS all evening....
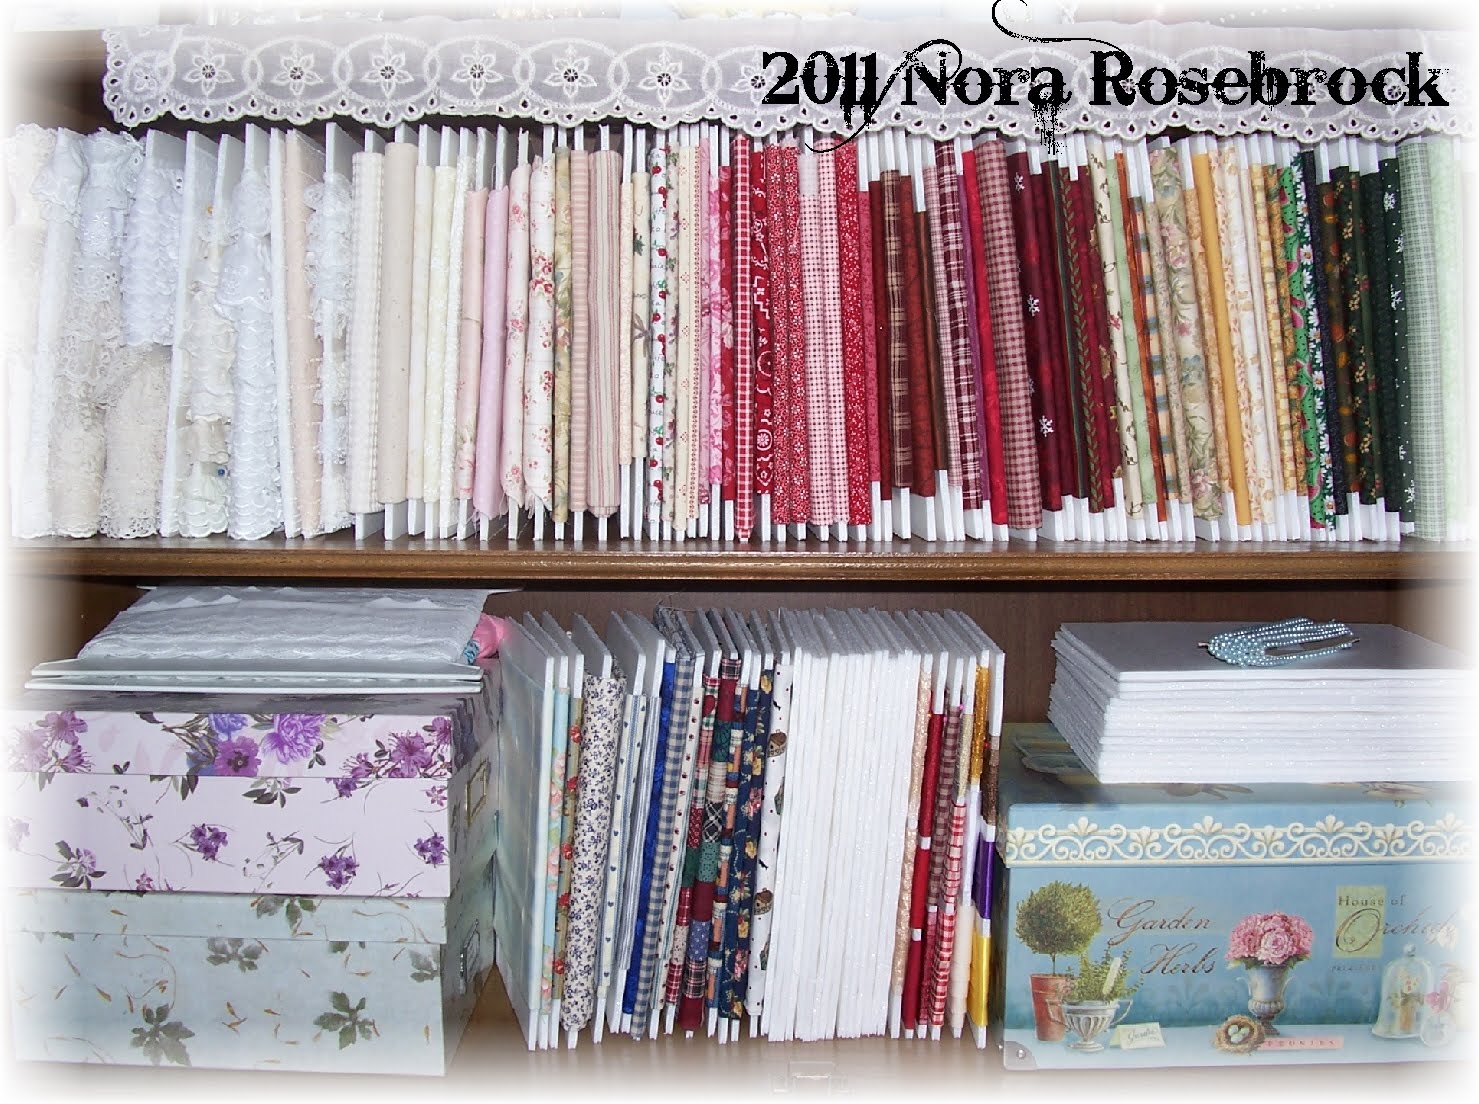 And try to figure out what to use for the borders on these darling pups. I'm trying really hard to keep myself from running to the quilt store for some DARLING 30s & 40s reproduction flour sack prints that I saw while shopping the other day. Believe me when I say that it's not easy, this resisting of purchasing fabric! *LOL* Next project for their Christmas gift package....an MDF monogram!
 And repeated the pinching/stitching process until I got this GORGEOUS double ruffle.
 It's ruffle-tastic! I sure hope she likes it. I know I do...in fact...I have enough material left over, I may just have to make one for myself! *LOL*
 Don't forget ~~ if you haven't joined in on the Stalker Fun for the $30 gift certificate to CSN Stores here on my blog, go do it now! I'm off to work on an embroidery project for the evening that I'll share later this week. Thanks for stopping by & have a great rest of your day!!



 These were very simple to make, thanks to an applique pattern from Bustle & Sew. I used pieces out of my scrap box, some warm n natural batting, cream twine, and didn't even bother to get out my big machine. The little Janome Sew Mini machine I got for Christmas handled the job like a champ!
 Step #2: Get your basic outline for stitching by laying tracing paper over the original design.
 Step #3: Using a light source (light table or tape the images & blank fabric to your sunniest window), trace the designs onto your material. You can use a fabric pen, pencil, or an ultra fine point sharpie (test the fabric in an inconspicuous spot to make sure your pen isn't going to bleed).
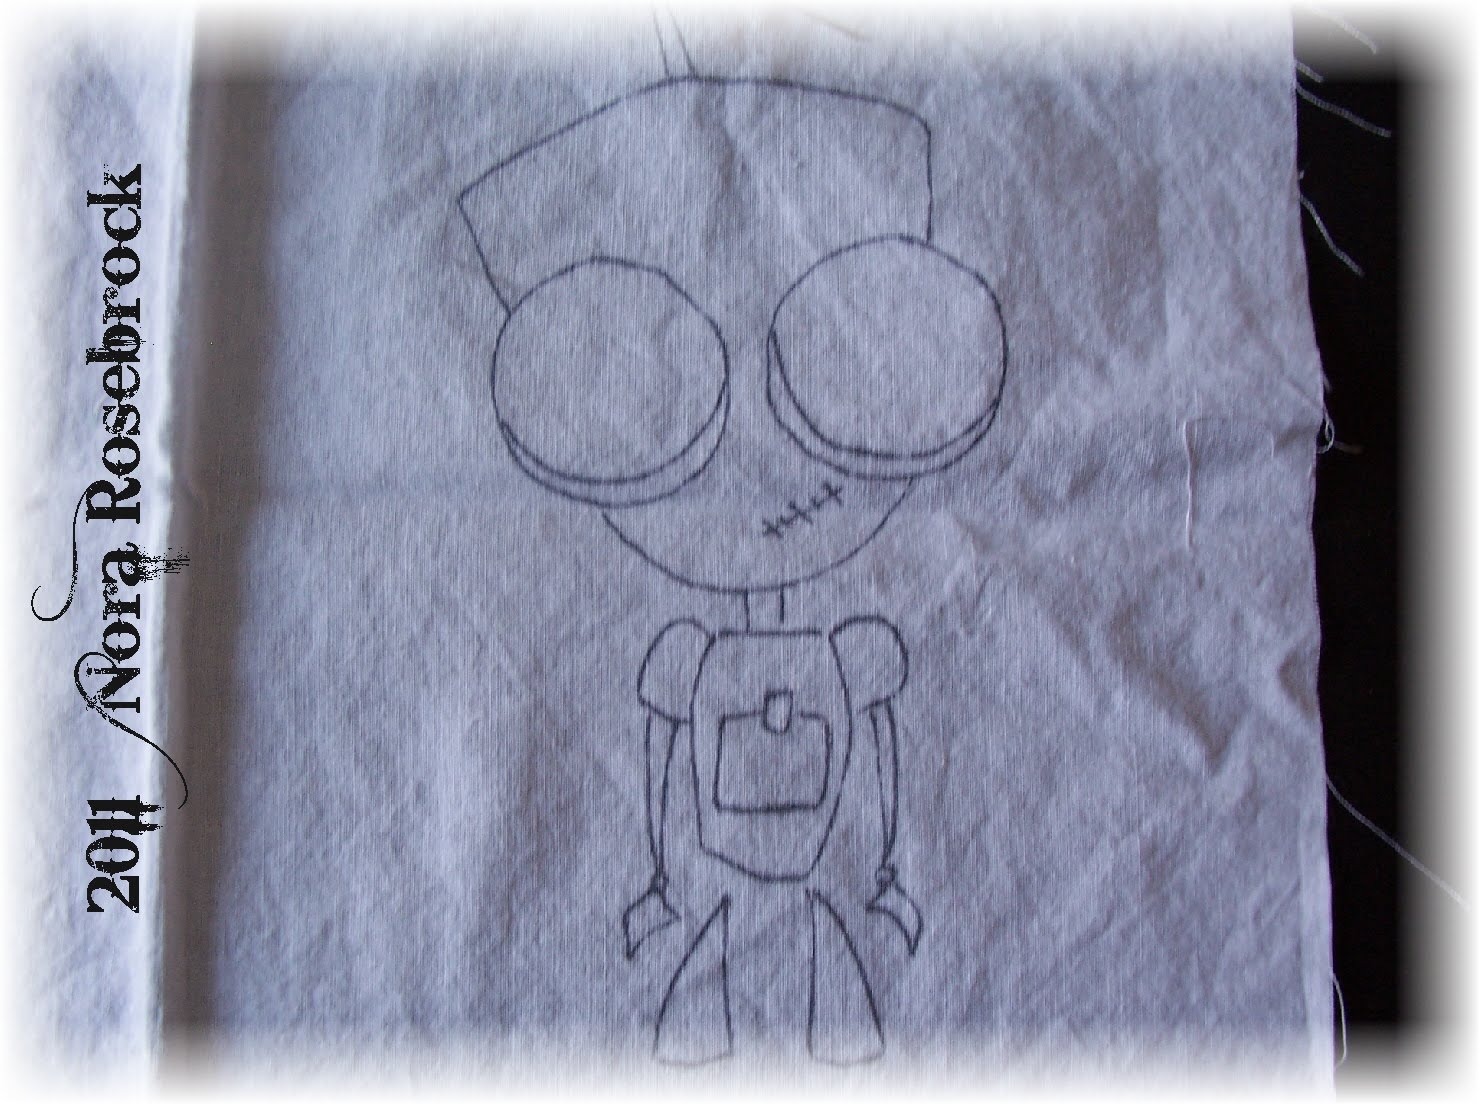 Step #4: Stitch. I used 3 strands of DMC rayon floss for each image, with warm n natural batting behind the fabric for some quilted dimension (optional). At this point, I'm not worried about the wrinkles in the fabric.
 Step #5: Grab your kids box of crayons, or, if you're like me, you've got your own private stash. Stretch the fabric with your hands & color the fabric till you get the look you're going for. On mine, I used the original printed images (step #1) as my color guide.
 Step #6: Grab waxed paper, plain news print or printer paper, and your iron. Set your iron to COTTON. Pull off enough waxed paper to cover the image.
 Step #7: Lay your news or printer paper OVER the waxed paper...
 Step #8: Using a fairly firm pressure, iron over your image. The waxed paper & heat from the iron help to seal the color into the fabric.
 Step #9: Repeat steps 6-8 for each image you're setting into fabric. This time around, I had to do it FOUR TIMES.
 Step #10: Using your machine, set on straight & normal length stitches, sew 3 sides of your pillow together, leaving one side open for stuffing (I leave the bottom).



 I knew EXACTLY where I wanted them to go. Not sure how long it's been now, maybe 4-5 years, one of Salt Lake City's oldest craft stores (Zim's) went out of business. During one of their last weeks, I happened across a table full of natural muslin vests. Did I buy one or two for the fab price of $2 each? NOPE! I bought up every stinkin one that was lying there because I knew if I didn't, I'd kick myself down the road for wanting more and not being able to find 'em. Think I ended up with 20 or so when I walked out (I'm not going to divulge how much papier mache I picked up during that trip!).
  Now to run it through a quick wash to get the wrinkles out & fray the roses a bit more. I LIKEY! Hope you do, too. We're up to 50 cool projects and counting, so go peek and be inspired...there's so many fantastic ideas flowing over at The T-Shirt Diaries!
 You take a 6' x 9' canvas drop cloth purchased at Lowe's in August. Wash it & soften it up just a bit. Take it straight out of the dryer and fold it in half length-wise in your living room floor so that it doesn't wrinkle too much...
 Using a measuring tape, you divide it into thirds and mark down both long sides with pins. Then using the measuring tape again, lay it cross-ways between the marking pins, and either lightly pencil a line between the pins and cut...or do it 'the Nora way' and just be bold...get out your pinking shears and CUT that puppy! *LOL*
 Then on a Saturday night, while hubby is away with his motorcycle club and the munchkins are either at sleepovers or crashed out in their beds, you find one of your favorite David Tennant episodes of Doctor Who on PBS, set up your sewing machine in front of the telly, and STITCH.
  They look really nice. One quick note: I didn't make them into traditional double panel curtains, just left them one solid piece. You can...a simple fold in half, cut, then two quick 1/4 inch seams...it's just that for these windows, it's not necessary. Since they're horizontal sliders, I usually push them off to one side to open them for the breezes anyway.
 See? They let in just enough light, they have a nice rustic finish (perfect for 3 smelly boys that don't like frou-frou anyway!), the texture is amazing, and I made all three for less than $11! You've GOTTA love that!!
  After THAT, I get to tackle this window in MY bedroom. Doncha just love the flour sack towels hanging over a tension rod for privacy? Lovely...NOT! *LOL*
 I have this little funky window (south wall) and a more "normal" sized window (east wall) that need my attention, too. Thought I'd take some white muslin and this fabric that I got through FreeCycle....
 For the big window - I'm not sure if there's enough to make full panels out of this (haven't measured), but if not, I can always use it for a band at the bottom of the curtains, maybe the rod pocket portion & still have some left over for toss pillows or to add a bit to that little window on the south wall. I dunno yet, but I'll figure it out. It'll probably come to me like most of my best projects do...at 3am just as I'm getting really good and asleep. *LOL*
 Well, I thought I'd alternate it with some white muslin strips and make a REALLY RUFFLY curtain for that smaller window...too much? Maybe? Guess we'll see! *LOL*




 Posts
All Comments
Posts
All Comments









 table, tr, td, li, p, div {font-family:Lucida Handwriting; color:000000; font-size:18px;}.btext {font-family:Lucida Handwriting; color:000000; font-size:18px;}.blacktext20 {font-family:Lucida Handwriting; color:000000; font-size:18px;}.blacktext20 {font-family:Lucida Handwriting; color:000000; font-size:18px;}.lightbluetext12 {font-family:Lucida Handwriting; color:000000; font-size:18px;}.orangetext15 {font-family:Lucida Handwriting; color:000000; font-size:18px;}.redtext {font-family:Lucida Handwriting; color:000000; font-size:18px;}.redbtext {font-family:Lucida Handwriting; color:000000; font-size:18px;}.text {font-family:Lucida Handwriting; color:000000; font-size:18px;}.whitetext12 {font-family:Lucida Handwriting; color:000000; font-size:18px;}a:active, a:visited, a:link {font-family:Lucida Handwriting; color:000000; font-size:18px;}a:hover {font-family:Lucida Handwriting; color:000000; font-size:18px;}a.navbar:active, a.navbar:visited, a.navbar:link {font-family:Lucida Handwriting; color:000000; font-size:13px;}a.navbar:hover {font-family:Lucida Handwriting; color:000000; font-size:18px;}a.redlink:active, a.redlink:visited, a.redlink:link {font-family:Lucida Handwriting; color:000000; font-size:18px;}a.redlink:hover {font-family:Lucida Handwriting; color:000000; font-size:18px;}.nametext {font-family:Lucida Handwriting; color:000000; font-size:18px;}